Wednesday, 13 December 2017

Christmas shoot

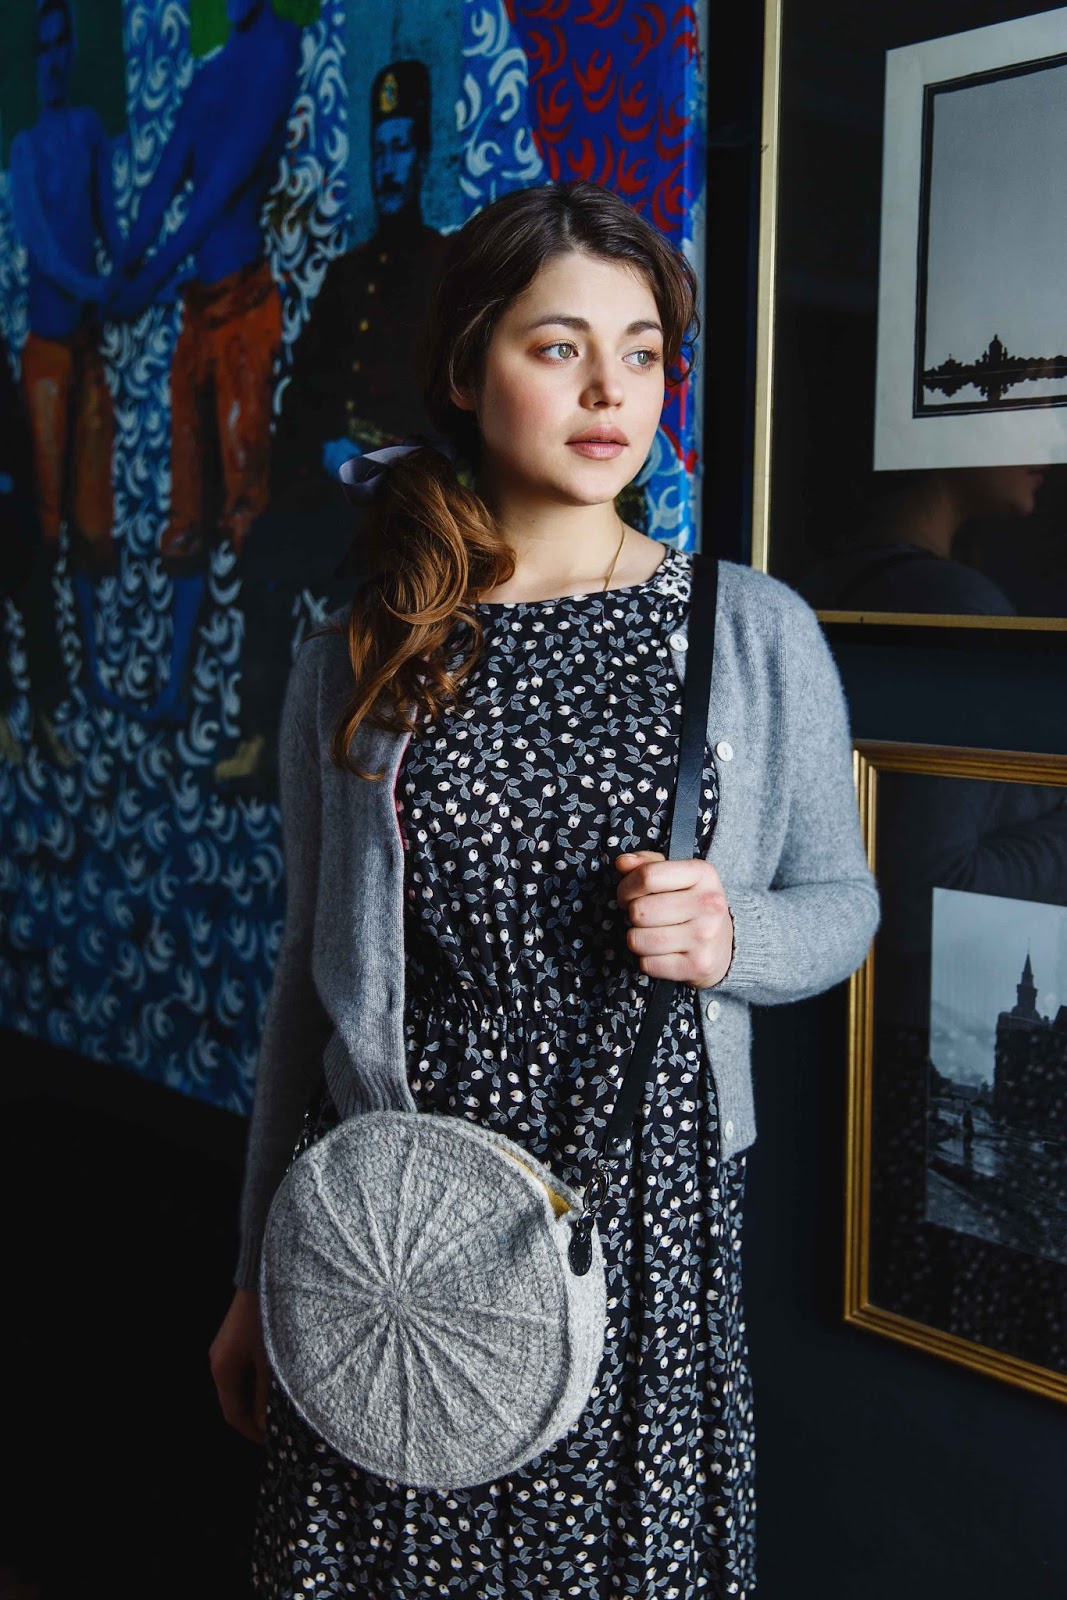
Just popping in to show you some images from the Christmas shoot I styled for Inside Crochet magazine. This is possibly my favourite shoot I have ever styled. Hope you like it!
All projects available in issue 96, out now!


All images by Kirsten Mavric, Hair and Make up by Nicki Henbrey.

Thursday, 13 July 2017

Apple for Teacher

 There is only a week left of school which will mean my baby has finished a whole year in reception. Where does the time fly?! I have also been teaching her to knit and so we are making something together for her lovely teacher, more about all that later. If you want to make something special for your little one's teacher this year, then how about an archetypal Apple for Teacher? I have just published this little pattern over on Love Crochet and the little amigurumi toy would make the perfect gift for a cherished teacher.
 All images courtesy of Kirsten Mavric, styling by me.

Friday, 5 May 2017

Two little birdies


Top of my to-do list at the moment is to pop up all my recent patterns onto Lovecrochet and last week I managed to upload these adorable two little birdies patterns. Originally made in Paintbox DK cotton (robin) and Scheepjes cotton (blue tit) the pattern is relatively easy yet fun to hook.

Head on over to my designer page and you can find the pattern for both this little blue tit and robin red breast in one download!

Robin image copywrite Claire Montgomerie, Blue Tit image copywrite Kirsten Mavric

Thursday, 20 April 2017

British Wool Photoshoot


As I sit today and busily prepare for the next photoshoot for Inside Crochet, here is a look a recent shoot I styled and directed for the latest issue, which also includes one of my projects, a classic Fair Isle-style glove pattern made in tapestry crochet.


All images are by the wonderful Kirsten from Mavric Photography, Hair and make up by Nicki Henbrey, model is Kristina Lipinskaite.


Friday, 14 April 2017

Easter Egg Decorating


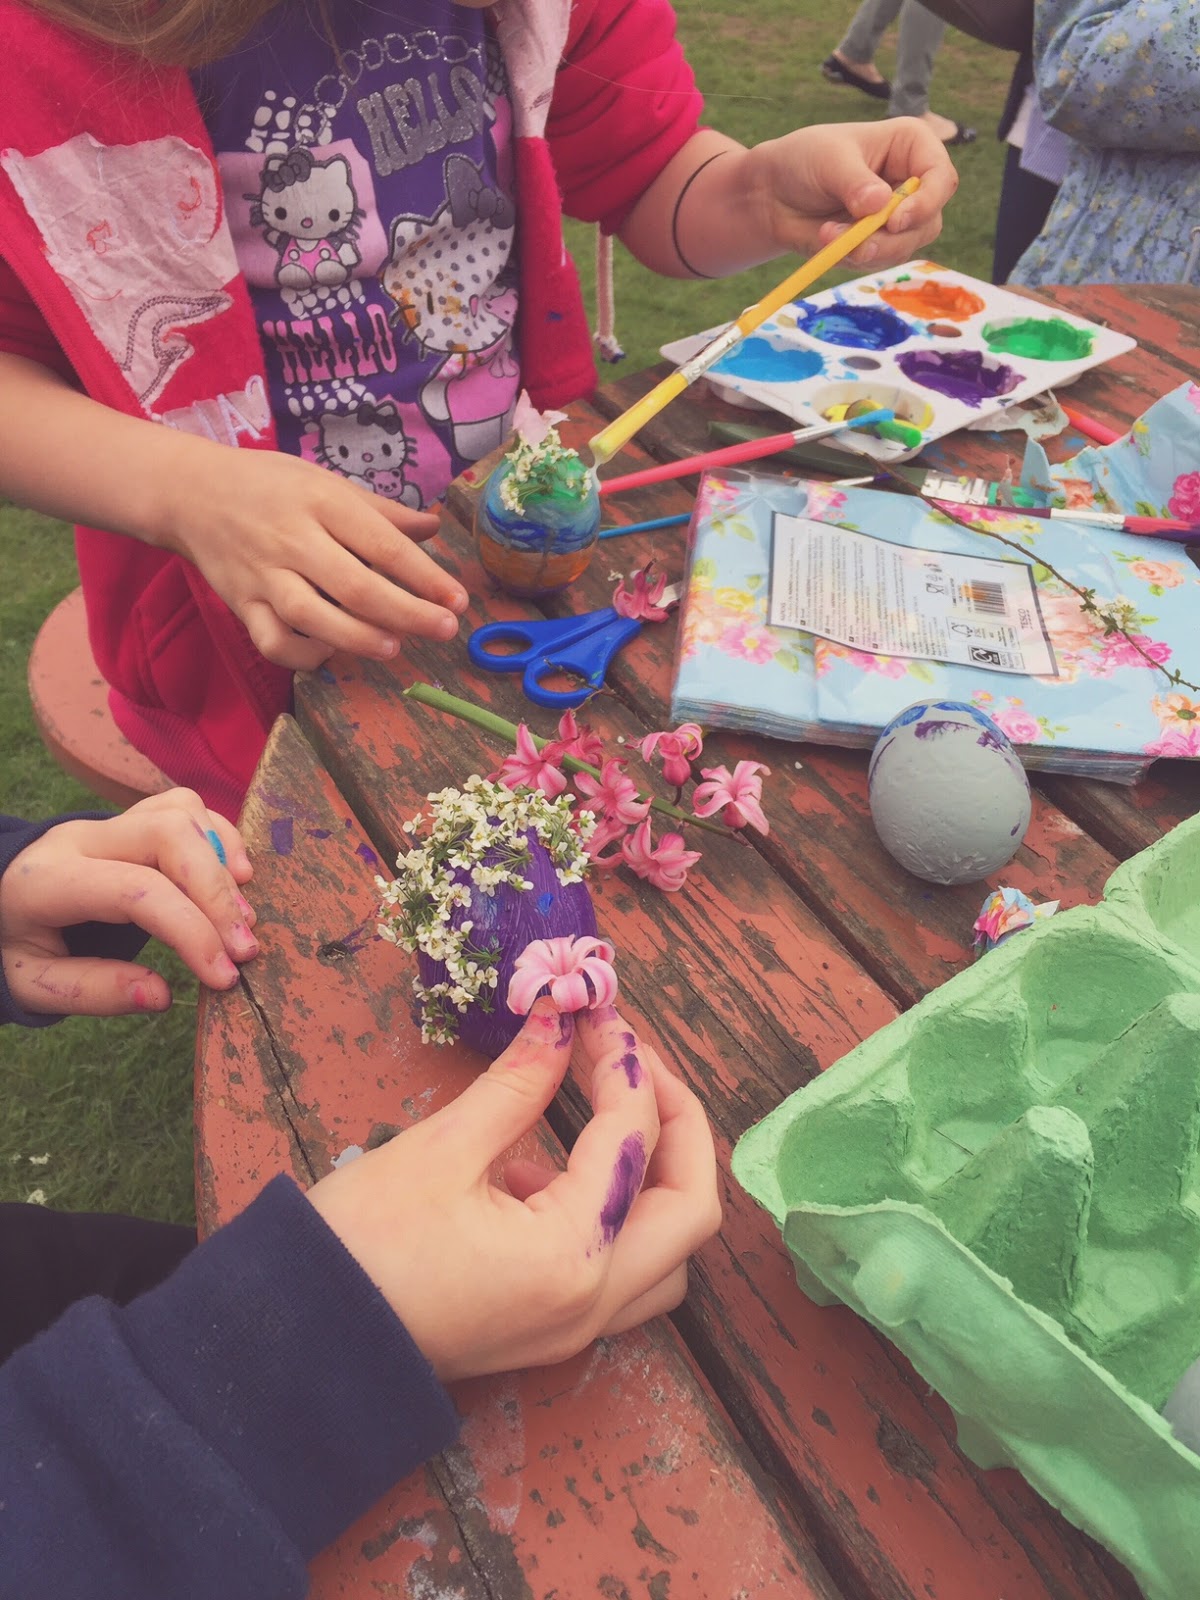
This Easter holidays I helped run a craft workshop for children with our local creative group the Neotists. The children made nests from found twigs and materials and painted and decorated Easter eggs. It was great fun and if you are at a loss for activities for your children this Easter weekend, then it is so simple, so here are some tips to give it a go!


To make the nests, we used very bendy green twigs - willow is a perfect choice. We started with three twigs arranged in six pronged 'star' and bound them in the centre with string or yarn. Then we proceeded to weave twigs, grass, straw and yarn in and out of this formation from the centre out. Now time to fill the nest.


We used polystyrene eggs, but you could just as easily use hard boiled hens eggs. Some of the younger children simply painted their eggs in bright colours, which looked fab. But we also laid out pretty floral paper napkins, leaves and foliage so some children could stick these on. If you want to play with decoupaging your eggs, simply water down some PVA glue slightly, then paint a layer of this onto your egg.

Now lay on the leaves, petals or paper napkins (make sure you take off the second, bottom layer of tissue from the napkin first to make it easier to stick down) then apply more glue over the top.


Some of the children cut out some of the motifs from the napkins first to create patterns, however you can cover the whole egg in one napkin, trimming off the excess as you go. You could also use coloured tissue paper to cut out shapes, or other decorative papers, but the thinner the paper the better as it will adhere much more easily.


This was all great fun, but if you want a slightly less messy activity this Easter, there is also always my cute knitting egg cosy pattern which you can find free here!

Happy Easter!


Saturday, 4 March 2017

My favourite hooks

I am following the marchmeetthemaker hashtag on Instagram and today the prompt is 'tools', so I thought it was a great time to talk about my hook of choice. 
When crochet is a large part of your life, it is imperative that you look after your hands so that you can continue to craft in comfort. It's so easy to get into the crochet groove and, in a semi-hypnotic state, end up having a relaxing few hours (or days!) crocheting, but in the long run it isn't good for your wrists, elbows, back, or anything really! It doesn't really matter which type of hook is your favourite, so long as it is comfortable to work with. I always recommend to my beginners that they try out a number of different hook styles as everyone will have their own preference. Personally, I find that handled hooks make for an easier grip and therefore cause less strain on the fingers and so I would always recommend some variation of handled hooks to anyone who does a lot of crocheting
If you looked inside my hook bag, you would discover that my go-to hooks at the moment are the Clover Amour range. I have them all from 0.6 to 15mm and incase you are wondering, the 3.5 and 4mm are the most well used. The chunkiest - sizes 12 and 15mm - are my most recent addition. 
Handles are really useful on the very small sizes as they ensure you have a substantial shaft to grip onto, even with a small hook. However, it is also great that the Amours now go up to super bulky as it is amazing what a difference the rubberised handle makes, even on the large sizes. In fact, the handle section is contoured so that it is actually smaller than the hook, which definitely adds to the ease of use, as bulky hooks are usually quite unwieldy to hook with. I don't even mind the plastic hooks on the largest Amour sizes (over 6.5mm). Usually I am a metal hooks all the way kind of girl, as they are very smooth and snag free, but the plastic on these tools is very smooth and shiny, making the hooking action very nearly as good as the metal hooks on the smaller amour sizes. 
If I haven't yet persuaded you to give the Amour a go, you may be swayed by the gorgeous rainbow colours of the handles. It is amazing how a pretty rainbow can turn my head, and, yes, I may be superficial, but I just love using pretty hooks, especially if they happen to match my crochet! I especially love these neons in the chunky sizes. If all this talk about their good looks is making me seem a little shallow, I do have to point out that there is a practical side to the different shades, which is that it is easy to pinpoint which hook you need to use instantly, without needing to read the number on the shaft. 
So, these are my hooks, which now have chewed up ends, smudged handles and which I have used so much that they feel like an extension of my fingers. I'd love to know, what are your favourite hooks?  


-->

Tuesday, 14 February 2017

Heart Fair Isle pattern


I am sure I say this every year, but we don't really 'do' Valentine's day in our house and if cards or presents do get exchanged, they are often handmade. This is my offering this year to my two loved ones. I quickly whipped up a little heart Fair Isle pattern on some graph paper last night and set it into some card this morning. Simple! It didn't take long at all, in fact, I have drawn up the chart, so you could even knock one up today if you forgot to buy a card this year! And if this doesn't take your fancy, I also have a free heart pattern here.

Happy Valentine's day!